IOT4SH01BMP
Jump to navigation
Jump to search
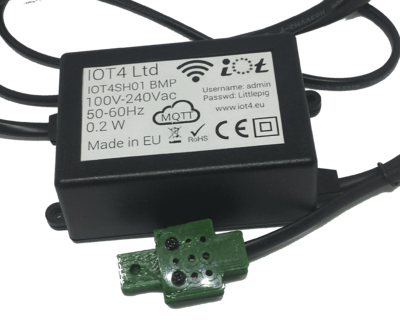
IOTSH01BMP series temperature sensor
Hardware features:
- Included an I2C connected BMP280 sensor
- Power supply cable length: 1.5m
- Power supply voltage: 100V-240V
- Power supply frequency: 50-60Hz
- Power consumption: 0.2 W
- Power supply protection: double protection
- Yearly power consumption: 1.8 kWh
- Dimmensions: 85mm x 55mm x 35mm
Communication features
- 802.11 b/g/n
- soft-AP
- Up to 5 different networks can be defined
- Supports static IP
- Scans for strongest network if more than one defined
- MQTT enabled
- Domoticz integration via MQTT
- Home Assistant integration via MQTT
- Fast asynchronous HTTP Server
- Configurable port
- Basic authentication
- Web-based configuration
- Sensor data from the web interface
- Websockets-based communication between the device and the browser
- Backup and restore settings option
- Upgrade firmware from the web interface
- REST API (enable/disable from web interface)
- GET sensor data
First time configuration
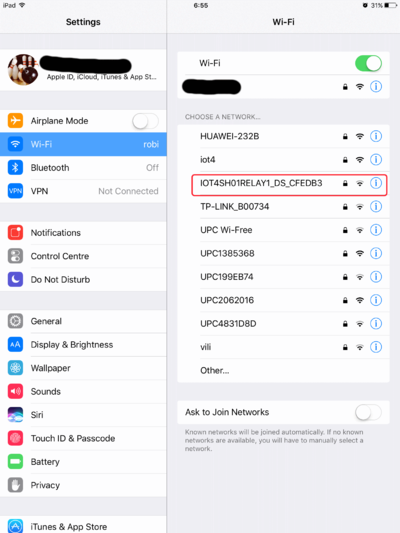
If the device dont find usable Wifi network, she will create a Soft AP to able configure the device. The name of this AP is starting IOT4SHxxxxxxxxxx , like on the picture.
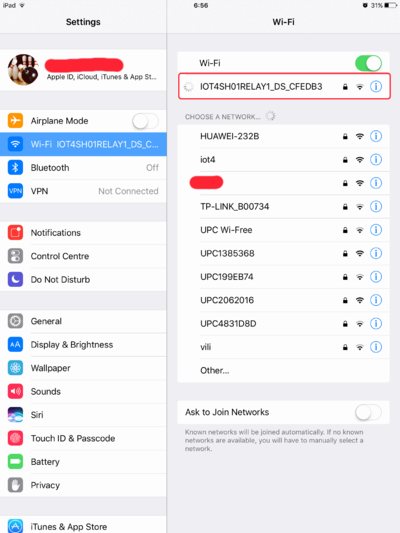
To connect this SSID use the default password: Littlepig
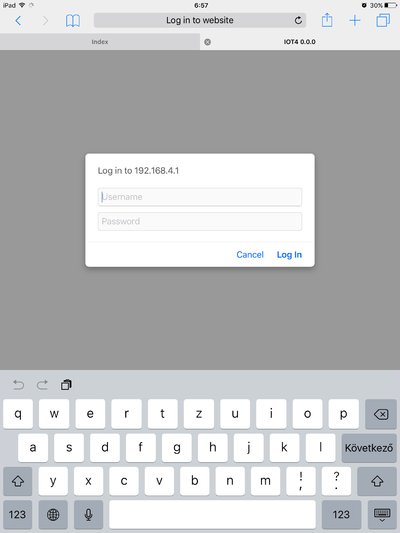
When your device was connected to the AP, need to open in the browser the address http://192.168.4.1/ .
Use the default username: admin and password: Littlepig.
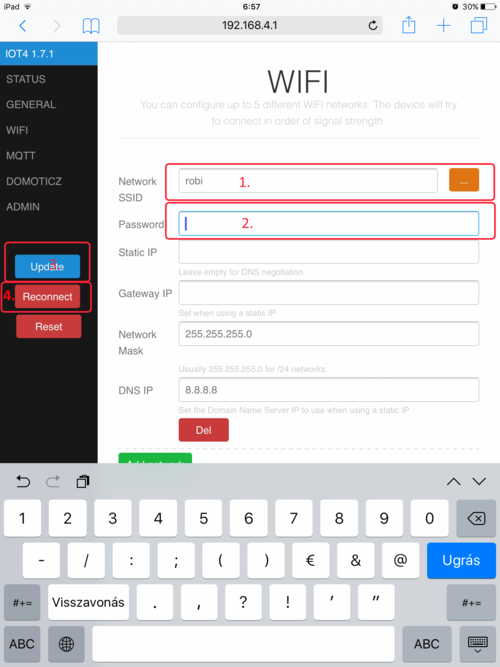
If logged in successfully select the Wifi page.
- Set your SSID name
- Set the password for it
- Update the configuration
- Reconnect the device to the network
